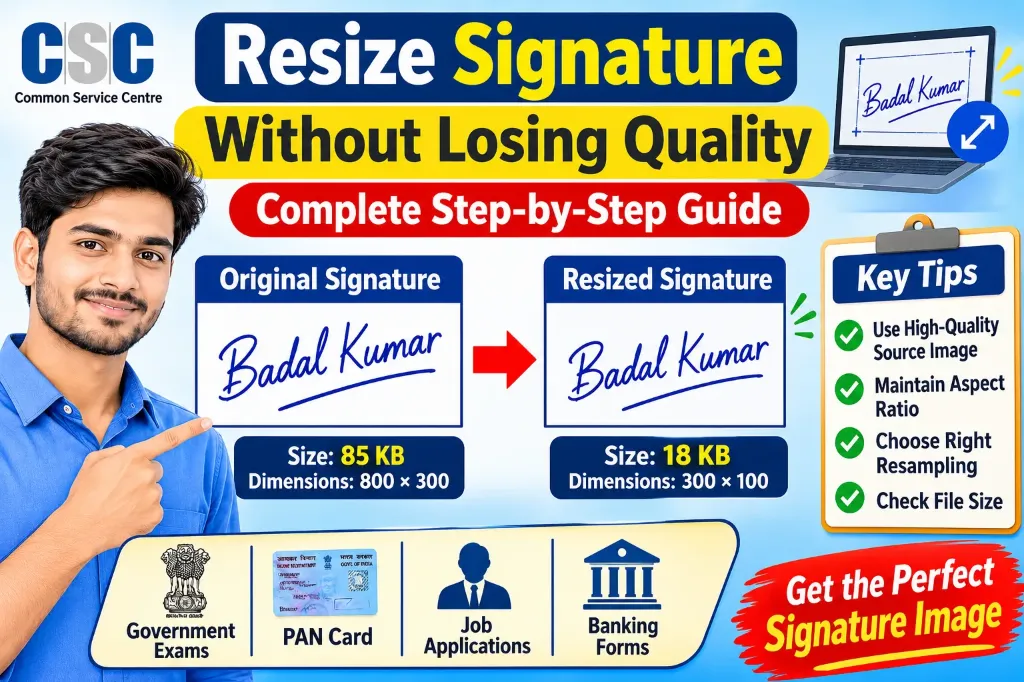
Have you ever tried to resize your signature image for an online application, only to find that it becomes blurry, unclear, or difficult to read?
This is a common problem when candidates prepare signature images for government examinations, job applications, banking forms, PAN cards, and other online services.
Sometimes, an application portal requires a signature image with specific dimensions, such as 300 × 100 pixels. In other cases, the signature file must be below 20 KB or 50 KB. Reducing the image size without affecting its readability can be challenging, especially when you do not have an original high-quality scan.
The good news is that you can resize a signature without losing noticeable quality by following the correct process.
In this guide, you will learn how image resizing works, how to maintain signature clarity, which settings to use, and how to avoid common mistakes that make a signature look blurry.
Whether you are preparing a signature for a government job application or another online form, these methods will help you create a clear and properly sized image.
Is It Possible to Resize a Signature Without Losing Quality?
Yes, you can resize a signature while maintaining most of its visible quality. However, the result depends on the original image, the required dimensions, and the resizing method.
When you reduce the dimensions of an image, some pixel information must be removed. Image editing software uses a process called resampling to calculate the new pixels.
A good resampling method can maintain smooth edges and readable handwriting. However, it cannot preserve every original detail when the image becomes significantly smaller.
For example:
- Reducing a 1200 × 400 pixel signature to 800 × 267 pixels may produce a clear result.
- Reducing the same signature to 100 × 30 pixels may remove important details.
- Enlarging a small, blurry signature will not bring back the original handwriting details.
Therefore, the best approach is to start with a high-quality original signature and resize it only once.
Why Does a Signature Become Blurry After Resizing?
Before resizing your signature, it is important to understand why image quality sometimes decreases.
Here are some common reasons:
Starting With a Low-Quality Image
If your original signature is already blurry, resizing cannot restore the missing details. For example, taking a screenshot of a signature from an old document may produce a poor-quality image. Always use a clear scan or a properly captured photograph of the original signature.
Reducing the Dimensions Too Much
Every image contains a certain number of pixels. When you reduce the width and height, the editing software removes some of those pixels. If the image becomes too small, thin signature strokes may disappear or merge together.
Repeatedly Resizing the Same Image
One of the biggest mistakes is resizing the same file multiple times.
For example:
- Resize the original signature to 800 × 267 pixels.
- Save the image.
- Open the resized image again.
- Reduce it to 500 × 167 pixels.
- Save it again.
- Repeat the process for smaller dimensions.
This repeated process can reduce visible sharpness, particularly when working with JPEG images. Instead, return to your original source image and create a new version with the final required dimensions.
Excessive Image Compression
Image dimensions and file size are two different things. A signature may have the correct dimensions but still have a large file size.
Some users repeatedly compress the image to reduce its KB size. Excessive JPEG compression can create unwanted blocks, rough edges, and blurry strokes. Choose a suitable compression setting rather than reducing the quality too aggressively.
Prepare a High-Quality Original Signature
The most important step is to prepare a good source image before resizing.
Follow these suggestions:
Step 1: Sign on a Clean White Sheet
Take a plain white sheet of paper and write your genuine signature using a dark pen.
For government application forms, follow the specific instructions regarding pen colour and signature style.
Make sure the signature is:
- Clearly visible.
- Properly written.
- Complete.
- Free from unnecessary marks.
- Positioned within a suitable area.
Avoid signing on coloured or patterned paper.
Step 2: Scan the Signature
Use a scanner whenever possible because it generally provides more consistent results than an ordinary mobile camera.
Choose a suitable resolution according to your intended use and the application instructions.
A higher-resolution source scan gives you more flexibility when creating smaller versions. For example, you can maintain a 600 DPI source scan and later prepare smaller images according to different portal requirements.
However, a high DPI value alone does not guarantee quality. The actual pixel dimensions and clarity of the source image also matter.
Step 3: Crop Unnecessary Space
Open the scanned image in an image editor.
Remove unnecessary white space around the signature.
Keep enough surrounding space so that the beginning and end of the handwriting are not cut off. Do not crop too tightly because some signatures have long strokes, underlines, or decorative curves.
How to Resize Signature Without Losing Quality
After preparing the original signature, follow this step-by-step process.
Step 1: Open Your Original Signature Image
Select the high-quality scanned signature from your computer. Avoid using a previously compressed or resized image when the original scan is available.
Step 2: Select the Resize Option
Open the image resizing tool and look for options such as:
- Width.
- Height.
- Pixel dimensions.
- Maintain aspect ratio.
- Resampling.
These settings help you control the final appearance of your signature.
Step 3: Enter the Required Dimensions
Check the online application instructions to find the required signature dimensions.
For example, suppose an examination portal requires a signature image of 300 × 100 pixels.
Enter:
| Setting | Value |
|---|---|
| Width | 300 pixels |
| Height | 100 pixels |
| Aspect ratio | Maintain |
| Resampling | Enabled, if pixel dimensions are changing |
This is only an example. Always use the actual dimensions specified by the application portal.
Important: Do not force an image into dimensions that distort its proportions. If your original signature has a different aspect ratio, crop the surrounding white space first or use an appropriate canvas with white margins, provided the portal allows it.
Step 4: Choose a Suitable Resampling Method
Resampling determines how the software calculates pixels when image dimensions change. Different software applications provide different resampling options.
Some commonly used methods include:
| Resampling Method | Best Use |
|---|---|
| Bicubic Sharper | Reducing image dimensions |
| Bicubic | General resizing |
| Bilinear | Simple resizing |
| Lanczos | High-quality downscaling in supported tools |
| Preserve Details | Primarily useful for enlarging images |
For a signature that needs to become smaller, Bicubic Sharper or a suitable high-quality downsampling filter is a good starting point.
Avoid unnecessary enlargement because software cannot recreate handwriting details that are missing from the original image.
Step 5: Preview the Resized Signature
After resizing, inspect the complete image.
Check the following:
- Are all letters visible?
- Are the strokes clear?
- Are the edges smooth?
- Has any part of the signature disappeared?
- Does the image look stretched?
- Is the background clean?
View the signature at 100% zoom whenever possible. A signature may look clear when viewed as a small thumbnail but appear blurry when inspected at its actual pixel size.
Step 6: Save the Image in the Correct Format
Choose the image format accepted by the application portal.
PNG is generally useful for signatures because it uses lossless compression and preserves sharp edges. JPEG can also be used when required by the portal, but it uses lossy compression.
If you need a JPEG image, convert it from the original or a high-quality working copy instead of repeatedly saving an already compressed JPEG.
PNG vs JPEG: Which Format Is Better for Signature Images?
Both formats can be useful, but they work differently.
| Feature | PNG | JPEG |
|---|---|---|
| Compression | Lossless | Lossy |
| Signature clarity | Generally very good | Depends on quality setting |
| File size | May be larger | Usually smaller |
| Background transparency | Supported | Not supported |
| Best use | Clear text and line-based images | Portals requiring smaller photographic files |
For a black signature on a white background, PNG is often a good choice when the application portal accepts it.
However, if the portal specifically requires JPG or JPEG, you must follow that requirement. Do not upload PNG simply because it looks better if the application form does not support it.
How to Reduce Signature File Size in KB Without Making It Blurry
Sometimes your signature has the correct dimensions but exceeds the maximum file-size limit.
For example:
- Required file size: Below 20 KB.
- Current signature size: 85 KB.
In this situation, you need to reduce the file size while maintaining readability.
Follow these steps:
- First, check whether the image dimensions are correct.
- Remove unnecessary white space.
- Use an accepted file format.
- Adjust JPEG quality gradually if JPEG is required.
- Keep PNG for suitable lossless outputs when accepted.
- Check the final file size.
- Open the saved file and inspect its clarity.
Avoid setting extremely low compression quality just to reach a particular KB value. A signature that meets the file-size limit but becomes unreadable may still be rejected.
Also remember that file size cannot be controlled perfectly through pixel dimensions alone. Image content, colour information, and compression settings all affect the final file size.
Common Mistakes to Avoid While Resizing a Signature
Here are some mistakes that can reduce your signature image quality:
| Mistake | Better Approach |
|---|---|
| Using a blurry source image | Start with a clear scan |
| Resizing repeatedly | Resize once from the original |
| Enlarging a small signature | Use a high-quality source scan |
| Ignoring aspect ratio | Maintain original proportions |
| Excessive JPEG compression | Use a suitable quality setting |
| Cropping signature strokes | Leave enough surrounding space |
| Uploading an unsupported format | Follow portal instructions |
| Checking only KB size | Check dimensions and clarity too |
| Applying excessive sharpening | Use moderate or no sharpening unless needed |
One important rule is to preserve your original source file. Never overwrite it with a smaller compressed version. You may need the original image again when preparing a signature for another examination or application.
Practical Tips for Government Exam and Online Application Signatures
If you regularly apply for SSC, UPSC, Railway, Banking, or state government examinations, maintaining a high-quality signature file can save time.
Follow these suggestions:
- Keep one master signature file: Maintain a clear original scan that you do not modify.
- Create separate versions: Prepare different image sizes for different examination portals.
- Use clear file names: For example,
SSC_Signature.jpgorUPSC_Signature.png. - Check official requirements: Every examination may have different dimensions, file formats, and KB limits.
- Avoid unnecessary editing: Do not change the appearance of your genuine signature.
- Maintain privacy: Your signature is personal information. Use trusted tools and avoid uploading it to unknown websites.
- Check the final preview: Always verify the actual uploaded image before submitting the application.
Recommended External Resource for Understanding Image Resizing
If you want to understand how resizing and resampling work in greater detail, Adobe provides a useful explanation in its official Photoshop documentation.
Read: Adobe Guide to Image Size, Resolution and Resampling
The guide explains the difference between pixel dimensions, physical image size, resolution, and resampling. It also explains why reducing image dimensions removes pixel information and why starting with a properly sized source image helps maintain better results.