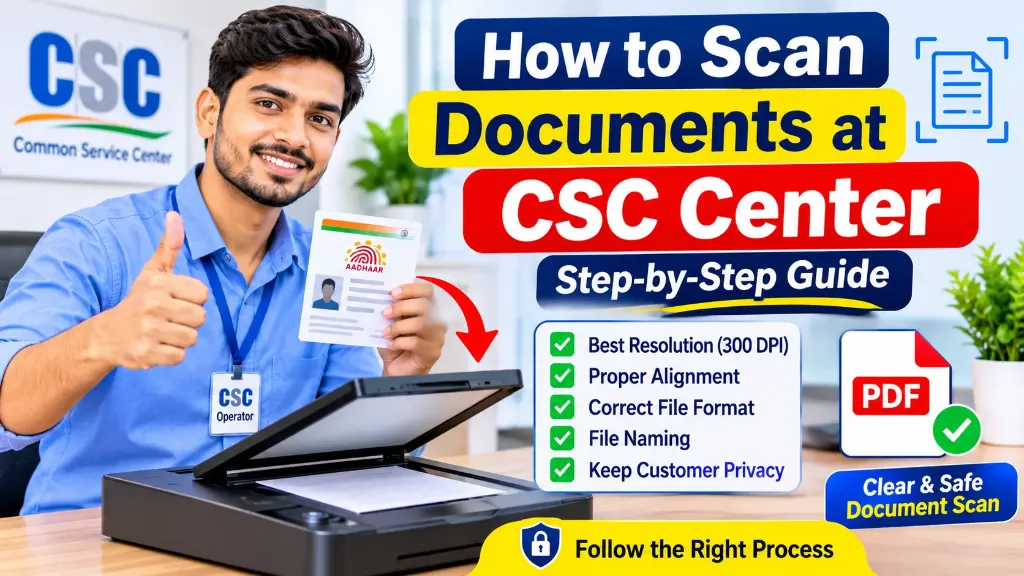
Document scanning is one of the most common tasks performed at a Common Services Centre. People visit CSC centres to apply for government schemes, fill out online application forms, register for examinations, and access various digital services.
In many of these processes, applicants need to upload scanned copies of documents such as Aadhaar cards, PAN cards, photographs, signatures, and other identity proofs.
However, a document scan is not useful simply because it has been saved as a PDF or image. It must be clear, properly aligned, readable, and saved in the correct format.
A poor-quality scan can create problems during document verification or lead to an upload error on an application portal.
That is why every CSC operator should understand how to scan documents at CSC center using the correct settings and a reliable process.
In this guide, you will learn how to scan documents step by step, choose the right resolution, adjust alignment, create properly named files, and protect customer information.
1. What Do You Need to Scan Documents at a CSC Center?
Before starting a scanning task, make sure that the necessary equipment and software are ready.
Here are the basic things required:
| Equipment | Purpose |
|---|---|
| Computer or Laptop | To control the scanner and save files |
| Flatbed Scanner | To scan identity cards and individual documents |
| ADF Scanner | To scan multiple pages quickly |
| Scanner Driver | To connect the scanner with the computer |
| Scanning Software | To scan, preview, and save documents |
| PDF Reader | To open and verify scanned PDF files |
| Storage Folder | To organise scanned documents |
A flatbed scanner is useful for identity cards, certificates, and delicate documents. An Automatic Document Feeder, or ADF, is more convenient when you need to scan several loose pages.
Make sure the scanner driver is installed correctly and the device is connected before accepting scanning work.
2. Understand the Correct Scanner Resolution and DPI Settings
DPI stands for Dots Per Inch. In scanning, the setting is commonly used to describe image resolution.
A higher resolution can capture more detail, but it also increases file size and scanning time.
For normal government application documents, 300 DPI is a useful starting point. You may need a higher setting for faded text, small writing, or detailed images.
The National Archives of India recommends 300 DPI for text documents and 400 DPI where legibility is an issue in its digitisation SOP.
Recommended DPI Settings for Different Documents
| Document Type | Suggested Resolution |
|---|---|
| Aadhaar or PAN Card | 300 DPI |
| Voter ID or Identity Proof | 300 DPI |
| Educational Certificates | 300 DPI |
| Normal Printed Documents | 300 DPI |
| Faded or Small Text | 400 DPI |
| Detailed Photographs | 600 DPI |
| Documents with Fine Details | 400–600 DPI |
These are general quality recommendations, not universal upload requirements. Always check the portal’s specified resolution, dimensions, and file-size limits before scanning.
Which Colour Mode Should You Select?
Most scanner software provides three common colour modes.
Black and White: Suitable for clean printed text when colour information is not important. It can produce smaller files.
Grayscale: Useful for handwritten documents, faded text, and documents with different shades.
Colour: Recommended when the original document contains important colours, photographs, stamps, signatures, or coloured security details.
For important certificates and identity documents, colour or grayscale is often a safer starting point than aggressive black-and-white conversion.
3. Prepare the Document Before Scanning
Document preparation is an important step because even a good scanner cannot produce a clean result from a poorly placed document.
Follow these steps:
- Ask the customer which document needs to be scanned.
- Check that the document is complete and readable.
- Remove staples, paper clips, or anything that prevents proper placement.
- Clean the scanner glass using an appropriate soft, lint-free cloth.
- Make sure the document has no unnecessary folds or objects covering the text.
- Keep the document ready before opening the scanning software.
If the document is damaged, very old, or difficult to handle, avoid applying pressure that could damage it further.
Operator tip: Check the scanner glass regularly. Dust, fingerprints, and small marks can appear as unwanted lines or spots in the scanned image.
4. How to Scan Documents at CSC Center Step by Step
Now let us understand the complete scanning process.
Step 1: Connect the Scanner to Your Computer
Turn on the scanner and connect it to your computer using the appropriate USB or network connection.
Open the scanning software installed on your system.
Make sure that the correct scanner model appears in the device list.
If the scanner is not detected, check the cable, power supply, driver installation, and device connection.
Step 2: Place the Document Correctly
For a flatbed scanner, open the scanner lid and place the document face down on the glass.
Align the document with the reference mark or corner shown on the scanner.
Keep the document straight and ensure that all four edges are within the scanning area.
Close the scanner lid carefully.
For an ADF scanner, place the pages in the feeder in the direction shown by the manufacturer’s instructions. Check whether the scanner requires pages to be face up or face down.
Step 3: Select the Scanning Settings
Open the scanner settings and choose the appropriate options.
For a normal printed government document, you can start with these settings:
| Setting | Recommended Starting Option |
|---|---|
| Resolution | 300 DPI |
| Colour Mode | Colour or Grayscale |
| Paper Size | A4, if applicable |
| Orientation | Portrait or Landscape |
| File Format | PDF or JPEG |
| Document Source | Flatbed or Feeder |
If you are scanning an identity card, choose the appropriate paper or custom scan area rather than forcing an A4-sized output when it is unnecessary.
Step 4: Preview the Document
Before saving the final scan, use the Preview option if available.
Check whether:
- The complete document is visible.
- The text is readable.
- The page is straight.
- The document is not upside down.
- No important information is cut off.
- There are no unwanted dark lines or shadows.
If the preview does not look correct, adjust the document and scan again.
Step 5: Click the Scan Button
Once the settings and document position are correct, click the Scan button.
Wait until the scanner completes the process.
Do not open the scanner lid or pull documents out of the feeder while scanning is in progress.
For multiple-page documents, confirm that every page has been scanned successfully.
Step 6: Crop and Rotate if Required
After scanning, open the image in the scanning software or an appropriate image viewer.
Remove unnecessary blank areas only when doing so does not cut off important information.
Correct the orientation if a page appears sideways or upside down.
Avoid excessive editing, filters, sharpening, or contrast adjustments that may change the appearance of the original document.
Step 7: Save the Scanned Document
Choose the appropriate folder and save the scanned file.
Select the format required by the application portal.
PDF is generally useful for multi-page documents, while JPEG is commonly used for individual photographs and image uploads.
Keep the original scanned copy unchanged where possible. If a portal requires a compressed version, create a separate upload copy instead of overwriting your original.
5. How to Scan Multiple Pages into One PDF
Sometimes applicants need to upload several pages of the same certificate or document as a single PDF file.
For example, an educational certificate may contain a front page and an additional page with important details.
Follow this process:
- Open your scanner software.
- Select the appropriate flatbed or ADF source.
- Scan the first page.
- Add the next page using the Add Page or Scan More option.
- Continue until all pages are scanned.
- Check the page order.
- Rotate any incorrectly positioned page.
- Save all pages as one PDF.
After saving, open the PDF and check every page.
Make sure that no page is missing, duplicated, blank, or incorrectly rotated.
If the portal requires separate files for each page, follow that requirement instead of creating a single PDF.
6. How to Name Scanned Files Properly
File naming may seem like a small task, but it can make a big difference when handling multiple customers.
Imagine scanning documents for 20 applicants and saving every file with a name such as Scan001, Scan002, or Document1.
Finding the correct document later can become difficult.
Use a simple and consistent naming system.
Examples of Proper File Names
| Document | Suggested File Name |
|---|---|
| Identity Proof | CustomerRef_IDProof.pdf |
| Aadhaar Copy | CustomerRef_Aadhaar.pdf |
| PAN Card | CustomerRef_PAN.jpg |
| Education Certificate | CustomerRef_Education.pdf |
| Photograph | CustomerRef_Photo.jpg |
| Signature | CustomerRef_Signature.jpg |
Here, CustomerRef should be a random job reference or internal token that does not reveal unnecessary personal information.
Avoid using full Aadhaar numbers, PAN numbers, mobile numbers, or other sensitive details in file names.
Best Practices for File Naming
- Use short and meaningful names.
- Use consistent spelling and formatting.
- Avoid unnecessary special characters.
- Use a separate folder for each customer job.
- Do not overwrite another customer’s files.
- Check the file name before uploading.
A well-organised folder structure can also reduce mistakes during busy working hours.
7. Check File Size, Format, and Quality Before Uploading
Many application portals have restrictions on document format and maximum file size.
For example, one portal may accept a PDF up to a certain size, while another may require a JPEG image with specific dimensions.
There is no single file-size limit that applies to all government websites.
Before uploading, check the official application instructions.
Use this quick review:
| What to Check | What to Do |
|---|---|
| File Format | Match the required PDF, JPG, or JPEG format |
| File Size | Keep it within the portal limit |
| Resolution | Follow the specified DPI |
| Dimensions | Check width and height requirements |
| Readability | Confirm all text is clear |
| Orientation | Keep pages correctly positioned |
| Page Count | Confirm all required pages are present |
If a file is too large, use a trusted compression tool and check the resulting document carefully.
Do not compress it so much that important text, stamps, or signatures become unreadable.
8. Customer Privacy and Document Security at CSC Center
A CSC operator may handle identity documents, financial information, educational records, and other personal details.
Protecting customer information should be part of every scanning task.
A clear document is important, but a secure document-handling process is equally important.
Important Privacy Practices for CSC Operators
1. Scan Only the Required Documents
Do not scan additional pages or collect unnecessary information. Follow the requirements of the particular application or service.
2. Take Customer Permission
Explain which documents need to be scanned and why they are required. Obtain the customer’s permission before handling and processing their documents.
3. Never Leave Documents Unattended
Do not leave Aadhaar cards, PAN cards, certificates, or other personal documents lying on the scanner or desk after completing the work.
4. Use a Secure Storage Location
Save files in a restricted folder instead of leaving them scattered across the Desktop or Downloads folder.
5. Avoid Personal File Sharing
Do not send customer documents to your personal email, social media account, or personal messaging groups for convenience.
Use only approved channels required for the service.
6. Delete Unnecessary Copies Safely
After the service is completed and any required retention period has been followed, remove temporary copies that are no longer needed.
Also check temporary scanning folders, duplicate files, and the Recycle Bin.
7. Protect Customer Login and OTP Details
Never ask customers to reveal passwords or OTPs unnecessarily. When an authorised process requires the customer to enter an OTP, allow them to enter it themselves.
The UIDAI also advises people not to leave Aadhaar copies unattended or disclose Aadhaar OTPs to unauthorised entities.
CSC operators should also follow the privacy and security rules applicable to their authorised services and the current official instructions.
9. Common Document Scanning Mistakes to Avoid
Even experienced operators can make mistakes when handling several applications.
Here are some common problems and their solutions.
| Common Mistake | How to Avoid It |
|---|---|
| Blurred document | Clean the glass and use proper settings |
| Cropped edges | Align the full document before scanning |
| Wrong orientation | Check the preview and rotate the page |
| Low resolution | Use an appropriate DPI setting |
| Excessive file size | Adjust settings or compress carefully |
| Missing PDF pages | Review the complete PDF |
| Wrong file format | Follow portal instructions |
| Incorrect file name | Use a consistent naming system |
| Customer data exposure | Use restricted folders and remove unnecessary copies |
Developing a habit of checking each scan immediately can prevent most of these problems.
10. Final Document Scanning Checklist for CSC Operators
Before handing over the file or uploading it to an application portal, review these points.
- Correct customer’s documents scanned.
- Complete document visible.
- Resolution selected appropriately.
- Text and important details readable.
- No unwanted shadows or dark lines.
- Document correctly aligned.
- All pages scanned in the correct order.
- Correct file format selected.
- File size within the portal limit.
- File saved with a meaningful name.
- Scanned PDF or image opened and checked.
- Customer documents handled securely.
- Unnecessary temporary copies removed when appropriate.
Following this checklist can make the scanning process more organised and reliable.