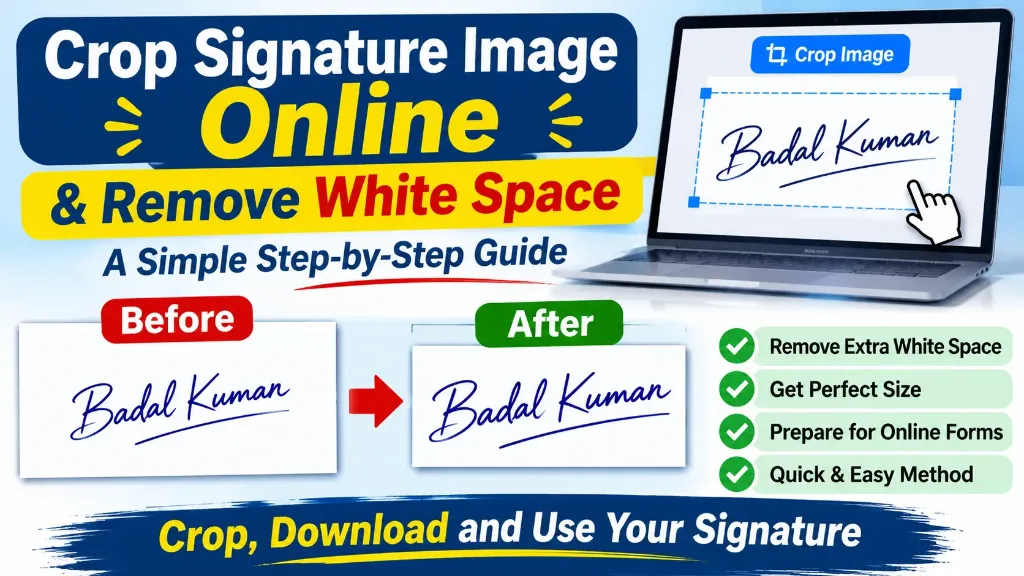
Have you ever scanned your signature and noticed too much white space around it? The signature may look very small in the image, even though it is clearly visible on the paper.
This is a common problem when preparing a signature image for government job applications, competitive examinations, college admissions and other online forms.
Most application portals ask candidates to upload a signature in a specific format, size and dimension. An image with large empty margins can make the actual signature appear smaller than expected.
The good news is that you can crop a signature image online and remove unwanted white space without installing complicated editing software.
In this guide, you will learn how to crop a signature image, remove unnecessary margins, maintain image quality and prepare the file for online applications.
Why Should You Crop Empty White Space Around a Signature?
When you sign your name on a white sheet of paper and scan it, the resulting image often contains a large blank area around the actual signature.
For example, imagine that your signature occupies only the middle portion of a 1000 × 1000 pixel image. The remaining space is mostly empty white background.
This creates several problems:
- The signature may look too small when uploaded.
- The image may not fit the required aspect ratio.
- You may have difficulty meeting the specified image dimensions.
- The signature may appear unclear when the portal displays a small preview.
- The file may contain unnecessary margins that make editing difficult.
Cropping removes these extra margins and helps bring the signature into a more suitable frame.
However, remember that cropping white space does not mean removing the white background itself. It simply trims the empty area around the signature.
How to Crop Signature Image Online and Remove White Space
You do not need professional photo-editing skills to crop a signature image.
An online cropping tool can help you select the signature area and remove unwanted margins in a few simple steps.
Follow this process:
Step 1: Prepare Your Signature Image
First, make sure you have a clear scanned signature saved on your device.
For better results:
- Sign on a clean white sheet of paper.
- Use a dark blue or black ink pen.
- Keep the paper flat while scanning.
- Avoid shadows and unnecessary marks.
- Make sure the entire signature is visible.
- Save the image in a supported format such as JPG or PNG.
Step 2: Open an Online Signature Crop Tool
Open an online image cropping tool in your browser.
You can use an online signature crop feature to select the area containing your signature and remove the extra white space around it.
Want to crop your signature quickly?
Open our Online Signature Crop Tool and upload your scanned signature image to get started.
The tool should allow you to select the required area and adjust the crop boundaries before downloading the result.
Step 3: Upload Your Signature Image
Select the upload option and choose your signature image from your computer or mobile phone.
Once the image loads, check its position and visibility.
Make sure the signature is not tilted, cut off or blurred.
If the image is very large, you may need to zoom out to see the complete signature before adjusting the crop area.
Step 4: Select the Signature Area
Now comes the most important part.
Use the crop handles to select the area around your actual signature.
Drag the edges inward to remove unnecessary white margins from the top, bottom, left and right sides.
Keep a small amount of white space around the signature instead of cropping directly along the ink.
This helps the signature look natural and prevents any part of the handwriting from getting cut off.
Step 5: Preview the Cropped Image
Before downloading, carefully check the cropped result.
Ask yourself these questions:
- Is the complete signature visible?
- Have all unnecessary margins been removed?
- Is there enough space around the handwriting?
- Does the signature look clear?
- Is the image properly aligned?
If the signature looks too close to the edges, adjust the crop boundaries slightly.
Step 6: Download the Cropped Signature
Once you are satisfied with the result, download the cropped image to your device.
Keep the original scanned image as a backup.
You can now use the cropped image for further editing, such as resizing, compressing or converting it into the required file format.
Before and After: How Cropping Improves a Signature Image
Understanding the difference between an uncropped and cropped signature image can help you get better results.
| Uncropped Signature | Cropped Signature |
|---|---|
| Contains large empty margins | Unnecessary margins are removed |
| Signature may appear small | Signature occupies more of the image area |
| May have unsuitable proportions | Easier to adjust to required proportions |
| More empty background | Better use of available image space |
| Needs further preparation | Ready for the next editing step |
Remember that cropping alone does not guarantee that your image will meet every examination portal’s requirements.
You may still need to resize or compress the image.
What Is the Difference Between Cropping, Resizing and Compressing?
Many people confuse these three image-editing operations.
Although they are related, each performs a different task.
| Operation | What It Does | When You Need It |
|---|---|---|
| Cropping | Removes unwanted outer portions of an image | When there is too much white space |
| Resizing | Changes the width and height of an image | When specific dimensions are required |
| Compressing | Reduces the file size | When the image exceeds the upload limit |
For example, suppose an examination portal asks you to upload a signature in 140 × 60 pixels with a maximum file size of 20 KB.
Your original image may be 1000 × 1000 pixels and 150 KB.
In that situation, you may need to:
- Crop the image to remove unnecessary margins.
- Resize it according to the required dimensions.
- Compress it to meet the file-size limit.
- Check its final appearance before uploading.
This order helps you avoid making a signature too small or blurry during editing.
Important Signature Image Requirements for Online Applications
Different recruitment boards, universities and government departments may have different signature image requirements.
Some portals specify exact dimensions, while others provide an acceptable file-size range and format.
Before editing your signature, check the official instructions carefully.
Here are some common requirements you may encounter:
| Requirement | What to Check |
|---|---|
| File format | JPG, JPEG or PNG, as permitted |
| File size | Minimum and maximum upload limits |
| Image width | Required width in pixels |
| Image height | Required height in pixels |
| Background | Usually a clean white background |
| Signature quality | Clear and readable handwriting |
| Alignment | Proper horizontal positioning |
An Official Example
The Institute of Banking Personnel Selection provides a useful example in its recruitment application instructions.
In one published recruitment guide, candidates are instructed to sign on white paper using a black ink pen. It specifies preferred dimensions of 140 × 60 pixels and a signature file size between 10 KB and 20 KB.
The same instructions explain that candidates should crop the scanned image close to the signature area before using the upload editor to achieve the required final dimensions.
You can read the official IBPS document scanning and upload guidelines for reference.
These specifications belong to that particular recruitment process. Do not assume that every examination uses the same dimensions or file-size limits.
Always follow the latest notification for your own application.
Common Mistakes to Avoid While Cropping a Signature Image
Cropping looks simple, but a small mistake can affect the final image.
Here are some common mistakes you should avoid.
1. Cropping Too Close to the Signature
Do not remove every bit of white space.
Leave a small margin around the handwriting. Otherwise, the signature may look squeezed or partially cut off.
2. Cutting Off Part of the Handwriting
Always check the complete signature before downloading.
Even a small missing stroke can change how the signature looks.
3. Stretching the Signature
Cropping and resizing are different operations.
Avoid stretching the image horizontally or vertically because it can distort the original handwriting.
Maintain the correct proportions whenever possible.
4. Ignoring the Required Dimensions
A cropped signature may look perfect but still fail to meet the portal requirements.
Always check the required width and height before uploading.
5. Using a Blurry Image
Cropping cannot restore details that were missing in the original scan.
Start with a clear signature image and use a good-quality scan.
6. Making the Background Transparent Without Checking
Some portals expect a signature on a white background.
Removing the white background or saving the image with transparency may create upload or display problems.
Use the background format requested by the concerned authority.
Tips for Getting the Best Result
Follow these simple practices whenever you prepare a signature image for an online application.
- Use a clean white sheet of paper.
- Sign with a dark ink pen.
- Scan the signature at a suitable resolution.
- Remove only unnecessary white margins.
- Keep the complete handwriting visible.
- Maintain the original signature proportions.
- Check the final image dimensions.
- Reduce the file size only when necessary.
- Save the image in the format accepted by the portal.
- Keep a backup of the original signature.
These steps can help you prepare a clear and properly formatted signature image.