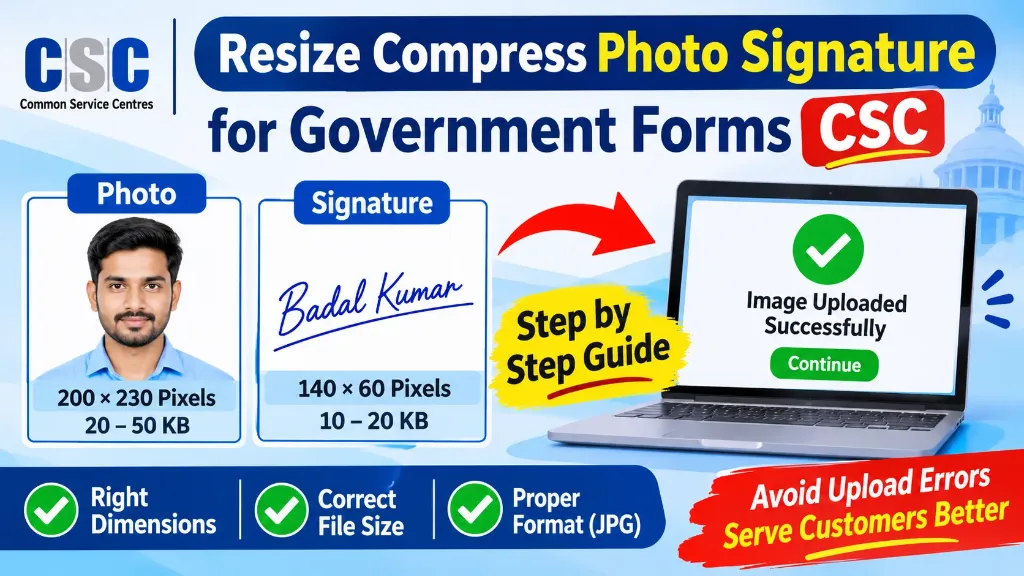
Every day, thousands of people visit Common Service Centres to apply for government jobs, entrance examinations, scholarships, admissions, and various government schemes. One common problem applicants face is uploading their photograph and signature in the correct format.
Sometimes a photograph is too large in KB. In other cases, the image dimensions do not match the application requirements. A signature may also become blurred after resizing or compression.
For a CSC operator offering CSC VLE online form filling services, understanding how to resize and compress photo signature for government forms is an important practical skill. It helps save time, reduces upload errors, and makes the application process easier for customers.
In this guide, you will learn how to resize photos, compress images, prepare signatures, understand KB and pixel requirements, and check whether an image is ready for uploading.
Why Do Government Forms Require Specific Photo and Signature Sizes?
Government application portals usually accept images only when they meet certain technical requirements.
These requirements help examination authorities and government departments receive properly formatted documents.
Most application forms specify some or all of the following:
- Image dimensions in pixels
- Maximum or minimum file size in KB
- Accepted image format such as JPG, JPEG, or PNG
- Image clarity and quality
- Background and photograph requirements
- Signature visibility
For example, a government job application may require a photograph of 200 × 230 pixels with a file size between 20 KB and 50 KB.
The same application may require a signature of 140 × 60 pixels with a file size between 10 KB and 20 KB.
These are examples from a specific application upload guide hosted on the IBPS registration platform. They are not universal requirements for all government forms.
Therefore, a CSC operator should always check the latest application instructions before preparing an applicant’s images.
Photo Dimensions vs File Size: Understand the Difference
This is one of the most important concepts for anyone working at a CSC centre.
Many operators confuse image dimensions with file size. However, they represent two different properties of a digital image.
1. Image Dimensions in Pixels
Image dimensions describe the width and height of an image.
They are measured in pixels and usually written as Width × Height.
For example:
- 200 × 230 pixels
- 300 × 400 pixels
- 140 × 60 pixels
- 800 × 400 pixels
If a portal requires a photograph of 200 × 230 pixels, uploading a 600 × 800 pixel image may result in an invalid image dimensions error, even when its file size is below the permitted limit.
You need to resize the image to match the required dimensions.
2. Image File Size in KB
File size describes how much storage space an image occupies.
It is generally measured in:
- KB — Kilobytes
- MB — Megabytes
For example:
- 15 KB
- 30 KB
- 50 KB
- 100 KB
If a portal allows a maximum image size of 50 KB and your photograph is 300 KB, you need to compress it so that the photo signature file size exceeds limit error does not occur.
Simply changing its dimensions may not always bring the file size within the required limit.
Difference Between Resize and Compress
| Feature | Resize | Compress |
|---|---|---|
| Main purpose | Change image dimensions | Reduce file size |
| Measurement | Pixels | KB or MB |
| Example | 800 × 800 to 200 × 230 pixels | 300 KB to 40 KB |
| Effect | Changes image resolution and detail | Reduces stored data |
| Common use | Match portal dimensions | Meet upload size limits |
Remember: Resizing and compressing are two separate operations. A government form may require you to perform both.
How to Resize Compress Photo Signature for Government Forms CSC
Follow these practical steps before uploading any customer’s photograph or signature.
Step 1: Check the Official Application Requirements
Before editing an image, open the relevant government application portal.
Go to the photo and signature upload section and note the requirements.
Prepare a simple checklist:
| Requirement | What to Check |
|---|---|
| Photograph dimensions | Width × Height in pixels |
| Photograph size | Minimum and maximum KB |
| Signature dimensions | Width × Height in pixels |
| Signature size | Minimum and maximum KB |
| File format | JPG, JPEG, PNG |
| Background | White or specified background |
| Other instructions | DPI, colour, clarity, etc. |
Do not assume that every recruitment examination or government portal uses the same specifications.
A photograph accepted by one portal may be rejected by another.
Step 2: Capture or Scan a Clear Photograph
Start with a good-quality original photograph.
For a passport-style photograph, ensure:
- The applicant’s face is clearly visible.
- The background follows the portal requirements.
- There are no unnecessary shadows.
- The photograph is not blurred.
- The face is properly positioned.
- The photograph belongs to the applicant.
Avoid using extremely low-quality images because compression cannot restore missing details.
Step 3: Prepare the Signature Image
For signature uploads, the applicant should sign on clean white paper using the ink colour specified by the examination authority (see our guide on black ink or blue ink for government exam signatures).
Scan the signature clearly and crop unnecessary blank space.
Keep the complete signature visible. Do not crop the beginning or ending strokes.
It is also important to preserve the applicant’s original signature rather than creating or altering one on their behalf.
Step 4: Resize the Image According to Pixel Requirements
Now adjust the image dimensions.
You can use Microsoft Paint on a Windows computer for basic image resizing.
Follow these steps:
- Right-click the photograph and open it in Paint.
- Select the Resize option from the toolbar.
- Choose Pixels instead of Percentage.
- Enter the required width and height.
- Keep the aspect ratio appropriate for the required shape.
- Crop the image first if its original shape does not match the required ratio.
- Save the resized image.
For example, when a portal requires 200 × 230 pixels, prepare the photograph using those exact dimensions.
Avoid stretching the photograph because it can distort the applicant’s face.
Important: If the portal requires an exact width and height, do not rely on automatic proportional resizing alone. Crop the image to the correct aspect ratio and then resize it.
Step 5: Compress the Image to the Required KB Size
After resizing, check the file size.
Suppose the portal requires a photograph between 20 KB and 50 KB, but your resized image is 120 KB.
You now need to reduce its file size.
You can use our free online signature resizer or an image compression tool that supports the required format.
A typical process looks like this:
- Open the resized image in an image compression tool.
- Select the supported format, such as JPEG.
- Adjust the compression or image quality.
- Save or download the compressed image.
- Check the final file size.
- Confirm that the image is still clear.
Repeat the process only when necessary.
Do not compress an image so much that the applicant’s face or signature becomes unclear.
Also remember that some basic programs such as Microsoft Paint are useful for resizing and saving images in JPEG format, but they may not provide precise control over the final KB size.
For exact file-size limits, use a suitable compression tool and verify the output.
Step 6: Check the Final Image Before Uploading
Never upload an image without checking the final output.
Verify these four things:
- Correct pixel dimensions
- Correct KB file size
- Accepted image format
- Clear and readable image quality
On Windows, you can right-click the saved image and select Properties.
The General tab displays the file size, while the Details tab can show the image dimensions.
This simple check can prevent many upload-related problems.
Example: Photo and Signature Requirements for a Government Application
Let’s understand how separate requirements work with a practical example.
A document published on the IBPS registration platform provides the following specifications for one particular application process.
| Image Type | Dimensions | File Size |
|---|---|---|
| Photograph | 200 × 230 pixels | 20–50 KB |
| Signature | 140 × 60 pixels | 10–20 KB |
| Left Thumb Impression | 240 × 240 pixels | 20–50 KB |
| Handwritten Declaration | 800 × 400 pixels | 50–100 KB |
The document also mentions JPEG format, scanning instructions, and the importance of image clarity.
This example shows why a CSC operator should maintain separate settings for photographs, signatures, thumb impressions, and handwritten declarations.
Do not use these specifications as a default setting for every government form. Always refer to the latest instructions for the specific application.
You can read the official application document on the IBPS registration platform for a practical example.
Common Problems While Resizing and Compressing Images
Even after preparing an image, operators may face different upload errors (if you are working on the Digital Seva portal, also see our CSC Digital Seva photo signature upload problem troubleshooting guide).
Here are some common issues and their solutions.
1. File Size Is Still Too Large
This usually happens when the image has a high resolution or is saved with insufficient compression.
Solution: Keep the required pixel dimensions and adjust JPEG compression quality. Check the output size after every export.
2. Image Dimensions Are Incorrect
An image may meet the KB limit but still fail because its width and height do not match the portal requirements.
Solution: Recheck the pixel dimensions and resize the image correctly.
3. Signature Becomes Blurred
Excessive compression can make handwriting difficult to identify.
Solution: Start with a clear scan and use moderate compression. Always preview the signature after saving.
4. File Format Is Not Supported
Some government portals accept only JPG or JPEG, while others may also permit PNG.
Solution: Use the Save As or Export option to create the correct file format. Simply changing a file extension does not convert the image.
5. Image Uploads Successfully but Looks Incorrect
Sometimes an image uploads but appears stretched, cropped, or poorly positioned.
Solution: Check the application preview before final submission and correct the image if necessary.
Important Tips for CSC Operators
A professional CSC operator should focus on image quality as well as technical specifications.
Keep these practices in mind:
- Maintain separate folders for photographs and signatures.
- Use clear filenames so files are not mixed up.
- Keep original images available until the application is successfully submitted.
- Never use another applicant’s photograph or signature.
- Check the final preview before submitting the form.
- Do not alter a customer’s identity-related documents.
- Follow the current instructions of the concerned government portal.
Protect Customer Information
CSC operators regularly handle personal photographs, signatures, identity documents, and application details.
Treat these files as confidential information.
Use local image-editing software whenever possible, avoid uploading sensitive documents to unknown online websites, and obtain the customer’s permission before processing their files.
After successful application submission, remove unnecessary working copies according to applicable service and record-retention requirements.
How Can CSC Operators Save Time During Daily Applications?
If you regularly process government applications, preparing images individually from the beginning can consume valuable time.
A better approach is to create a simple workflow.
Create a requirement checklist for each frequently used portal.
For example:
| Portal or Application | Photo Settings | Signature Settings |
|---|---|---|
| Application A | As specified in its notification | As specified in its notification |
| Application B | As specified in its notification | As specified in its notification |
| Application C | As specified in its notification | As specified in its notification |
Keep the checklist updated whenever a new recruitment notification or application guideline is released.
You can also use our dedicated Signature Resize for CSC VLE guidelines and tools that allow you to enter custom pixel dimensions and file-size limits.
This can make routine image preparation easier, especially when multiple customers visit your centre.
However, always check the final output instead of relying only on the tool’s success message.