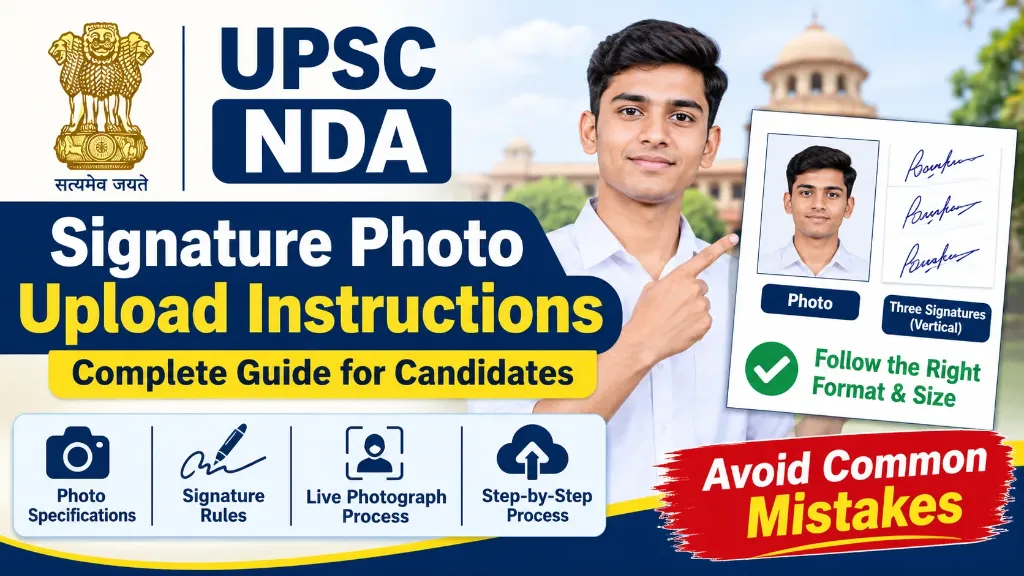
Uploading the correct photograph and signature is an important part of the UPSC NDA application process. Even if you meet all the eligibility conditions, mistakes in your uploaded images can create problems during application submission and verification.
Many candidates are confused about the correct photo size, signature format, file dimensions, background colour and the new live photograph requirement.
UPSC has also introduced a new online application portal with updated document-upload instructions. One important change is that candidates must upload a passport-size photograph, capture a live photograph and provide three signatures in a single image.
In this article, you will learn the latest UPSC NDA signature photo upload instructions, including image size, file format, signature preparation, live photo capture and the complete application portal process.
We have used the official UPSC application portal instructions as the primary reference. Candidates should also check their examination-specific notification before submitting the form.
Last Updated: 9 November 2026
UPSC NDA Photo and Signature Requirements
Before starting your NDA application, prepare your photograph and signature according to the latest instructions available on the UPSC online application portal.
The current portal guide specifies the following requirements:
| Particulars | Photograph | Signature |
|---|---|---|
| File format | JPG | JPG |
| File size | 20 KB to 200 KB | 20 KB to 100 KB |
| File name | photo | signature |
| Background | Plain white | Plain white paper |
| Photo type | Recent colour photograph | Three handwritten signatures |
| Ink colour | Not applicable | Black ink |
| Face coverage | At least 75% | Not applicable |
| Image dimensions | Follow portal instructions | 350 to 500 pixels |
Important: UPSC also requires a live photograph during the application process. The uploaded passport-size photograph and live photograph must match.
The latest upload guide also specifies that all three signatures must appear vertically in one image. Read Official UPSC Photo and Signature Upload Instructions.
1. UPSC NDA Photograph Upload Instructions
Your photograph is one of the most important documents in the NDA application form because it helps UPSC verify your identity.
Candidates should upload a recent, clear and properly captured colour photograph.
Follow these instructions while preparing your photograph.
Photograph Requirements
- File format: Save the photograph in JPG format.
- File size: The image must be between 20 KB and 200 KB.
- File name: Save the file with the name photo.
- Background: Use a plain white background.
- Face coverage: Your face must cover at least 75% of the photograph.
- Face position: Keep your face straight and look directly at the camera.
- Visibility: Both ears should be visible.
- Image quality: The photograph must be clear and properly illuminated.
How Should Your Photograph Look?
UPSC has provided sample photographs to explain which images are acceptable and which may be rejected.
Keep these points in mind:
Correct photograph:
- Your complete face should be visible.
- Your head should be positioned in the centre.
- Both ears should be visible.
- Your eyes should be open.
- Your facial expression should look natural.
- The background should be plain white.
- Your face should cover approximately three-fourths of the photograph.
Incorrect photograph:
- A blurred or low-quality image.
- A side-facing photograph.
- A photograph with a dark background.
- An image with shadows on the face.
- A photograph where your face is too small.
- A photograph where your face is cropped.
- A photograph taken in uniform.
- An image with eyes hidden behind dark or coloured glasses.
UPSC also instructs candidates not to sign their photographs.
How to Prepare Your UPSC NDA Photograph
Follow this simple process:
- Choose a plain white background.
- Stand or sit facing the camera.
- Keep your head straight and both ears visible.
- Make sure your face is properly illuminated.
- Capture a clear colour photograph.
- Crop the image so that your face covers at least 75% of the photograph.
- Save it in JPG format.
- Resize the file between 20 KB and 200 KB.
- Rename the file as photo.
- Open the final image and check its quality before uploading.
Do not use an old photograph that looks significantly different from your current appearance.
2. UPSC NDA Live Photograph Capture Instructions
The live photograph requirement is an important part of the new UPSC application process.
Candidates must capture a live photograph while filling out the application. Uploading only a previously saved passport-size photograph is not sufficient.
According to the official UPSC portal instructions, candidates can capture their live photograph using either of these methods.
Method 1: Capture Live Photograph Using a Device
You can use the webcam of your current device.
Follow these steps:
- Open the photograph capture section.
- Allow the browser to access your camera.
- Position your face properly in front of the camera.
- Make sure the lighting is sufficient.
- Look directly at the camera.
- Capture your live photograph.
- Check the captured image using the preview option.
Method 2: Capture Live Photograph Using a Mobile Phone
You can also use a mobile phone to capture your live photograph.
- Open the live photograph capture section on your computer.
- Look for the QR code displayed on the screen.
- Scan the QR code using your mobile phone.
- Follow the instructions displayed on your phone.
- Capture your live photograph.
- Verify that the photograph has been successfully uploaded.
Important Live Photograph Rules
Keep these points in mind:
- Capture your photograph in good lighting.
- Make sure your face is clearly visible.
- Keep your face straight.
- Avoid strong shadows.
- Do not use a photograph of another person.
- The live photograph must match the uploaded passport-size photograph.
UPSC clearly states that if a mismatch is detected between the two photographs, the candidate will not be allowed to proceed further with the examination application process.
Therefore, use photographs showing your actual appearance.
3. UPSC NDA Signature Upload Instructions
The signature process has an important requirement that many candidates may overlook.
UPSC requires candidates to provide three signatures arranged vertically in a single image.
Providing only one signature or arranging all three signatures horizontally does not meet the current upload instructions.
Follow these rules carefully.
Signature Requirements
| Particulars | Official instructions |
|---|---|
| Number of signatures | Exactly 3 |
| Ink colour | Black |
| Paper | Plain white paper |
| Arrangement | Vertically, one below another |
| File format | JPG |
| File size | 20 KB to 100 KB |
| File name | signature |
| Image dimensions | 350 to 500 pixels |
| Image quality | Clear and well-lit |
How to Write Three Signatures Correctly
Follow this process to prepare your signature image.
- Step 1: Take a clean white sheet of paper
Use a plain white sheet without lines, designs or coloured marks. - Step 2: Use a black ink pen
Write your signature using black ink. Avoid blue or other coloured ink. - Step 3: Write your signature three times
Sign three times vertically. Keep one signature below the other. - Step 4: Maintain proper spacing
Leave sufficient space between each signature so they can be seen clearly. - Step 5: Scan the complete sheet
Scan all three signatures together in one image. - Step 6: Save the image
Save the scanned image in JPG format using the file name signature. - Step 7: Adjust the file size
Keep the final image between 20 KB and 100 KB. Follow the dimension requirements displayed by the UPSC portal.
How Should Your Three Signatures Be Arranged?
Your signatures should look like this:
Correct signature arrangement
- Your Signature
- Your Signature
- Your Signature
Correct: Three signatures in one image, arranged vertically.
Illustrative arrangement only. Write your own actual signature three times.
Common Signature Mistakes to Avoid
| Mistake | Why it is incorrect |
|---|---|
| Uploading only one signature | Exactly three signatures are required |
| Writing signatures horizontally | Vertical arrangement is required |
| Using blue ink | Black ink is required |
| Using ruled paper | Plain white paper is required |
| Uploading a blurred image | The signature must be clear |
| Uploading a different image | The file must contain your handwritten signatures |
| Using another person’s signature | Your own signature must be uploaded |
UPSC warns that signature files that do not meet the prescribed specifications may lead to rejection.
4. How to Upload Photo and Signature in UPSC NDA Application Form
The current UPSC application portal follows a four-part process.
These are account creation, Universal Registration, Common Application Form and the examination-specific application.
Follow these steps to upload your photograph and signature.
- Step 1: Open the UPSC application portal
Visit the official website: https://upsconline.nic.in/ - Step 2: Create your account
If you are a new applicant, select Create Account. Enter your active email address and mobile number. Verify both through the OTP process and create your password. - Step 3: Complete Universal Registration
Log in to your account and complete the Universal Registration process. You will need to provide identity details, Class 10th matriculation details, Aadhaar or another accepted photo identity document. Review the information before locking and submitting it. A Universal Registration Number, also called URN, is generated after successful submission. - Step 4: Complete the Common Application Form
Open the Common Application Form and complete the required profile sections. These include personal details, parents’ details, category, address, education and other information. - Step 5: Open the Photo and Signature Section
The Photo and Signature profile is the final module of the Common Application Form. Here you need to provide: Latest passport-size photograph, Live photograph, and Three signatures in one image. Upload the files according to the portal requirements. - Step 6: Preview Your Documents
Check the uploaded photographs and signature carefully. Make sure your passport photograph is clear, your live photograph matches your uploaded photograph, all three signatures are visible, the signature arrangement is vertical, and the images are not blurred or cropped incorrectly. - Step 7: Lock the Common Application Form
After completing all the required profiles, review your details and lock the Common Application Form. Do not rush this step. UPSC’s instructions state that the CAF cannot be modified for that examination after it is locked. - Step 8: Apply for NDA Examination
Open the Examination section and select the NDA examination for which applications are available. Complete the examination-specific details, choose your examination centre, pay the applicable fee if required and submit the application. Download the confirmation page for future reference.
The above process follows the application workflow described in the official UPSC portal manual. UPSC General Instructions for Filling the Application Form.
5. How to Fix Photo and Signature Upload Errors
Sometimes candidates face problems while uploading their photograph or signature.
Here are some common problems and their solutions.
| Upload problem | Possible solution |
|---|---|
| File size is too large | Compress the image within the permitted range |
| File size is too small | Adjust image quality and dimensions |
| Invalid file format | Convert the image to JPG |
| Incorrect file name | Use photo or signature as instructed |
| Blurred photograph | Capture a fresh photograph |
| Face coverage error | Crop the image according to the 75% rule |
| Signature arrangement error | Place all three signatures vertically |
| Live photo not capturing | Check camera permission and lighting |
| Image not uploading | Check the file requirements and try an updated browser |
What If Your Photograph or Signature Is Rejected?
Do not repeatedly upload the same incorrect image.
First, identify the error message displayed by the portal. Prepare a fresh image according to the official instructions and try again.
You can also check the Instructions and FAQs section on the UPSC application portal.
For technical problems, use the official UPSC helpdesk details displayed on the portal.
Avoid sharing your password, OTP or other login information with an unknown person.
6. Important Tips Before Final Submission
Before submitting your NDA application, use this checklist to avoid common mistakes.
- Your photograph is recent and clear.
- The photograph has a plain white background.
- Your face covers at least 75% of the image.
- Both ears are visible.
- Your uploaded photo is between 20 KB and 200 KB.
- Your live photograph has been captured successfully.
- Both photographs show your actual appearance.
- You have written exactly three signatures.
- All three signatures are arranged vertically.
- You have used black ink on plain white paper.
- The signature file is between 20 KB and 100 KB.
- The photograph and signature are saved in JPG format.
- You have checked the preview before locking the CAF.
A final check can help you avoid unnecessary problems during the application process.