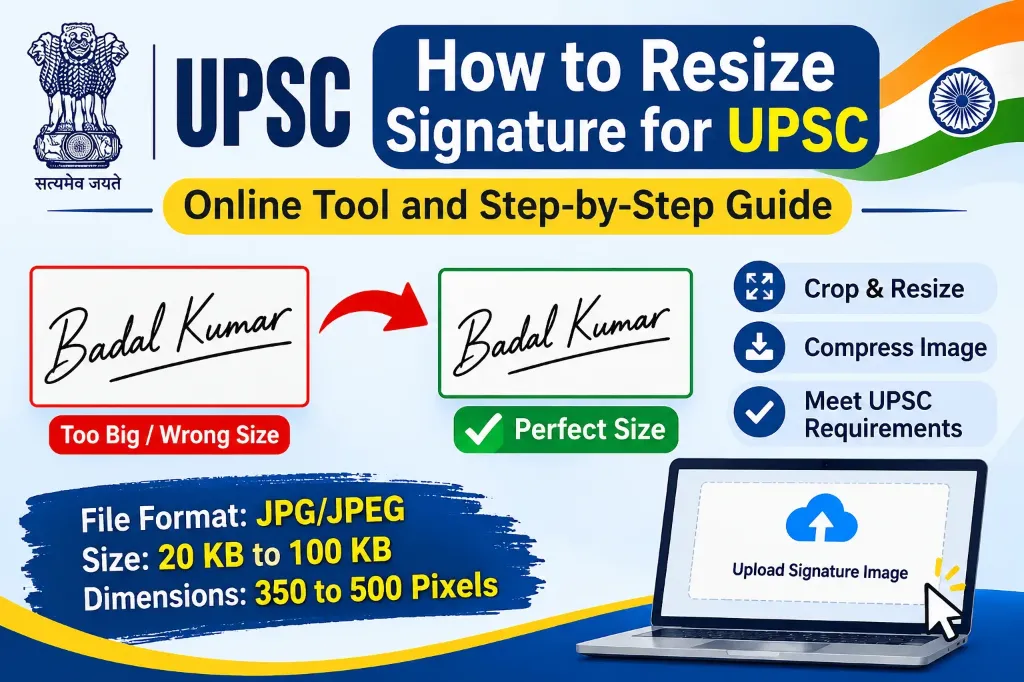
Are you preparing to submit a UPSC online application but your signature image does not meet the required size or dimensions?
This is a common problem among candidates. You may have a clear scanned signature, but the image could be too large, too small or in the wrong format. Sometimes, unnecessary white space around the signature also makes it difficult to prepare the correct image.
The good news is that you do not need professional photo-editing software to fix these problems. You can use an online signature resizer to crop, resize and compress your signature image.
In this guide, you will learn how to resize a signature for UPSC, prepare the correct JPG file, adjust its dimensions and check the final image before uploading it.
We will also explain some important mistakes that candidates should avoid while preparing their signature.
What Are the UPSC Signature Image Requirements?
Before resizing your signature, you should understand the requirements specified by the Union Public Service Commission.
UPSC provides instructions for uploading scanned photographs and signatures through its online application portal.
According to its published photo and signature upload instructions, the following requirements apply:
| Requirement | Specification |
|---|---|
| File format | JPG or JPEG |
| File name | signature |
| File size | 20 KB to 100 KB |
| Pixel range | 350 to 500 pixels |
| Paper background | Clean white paper |
| Ink colour | Black pen |
| Image quality | Clear and without shadows |
These specifications are taken from the official UPSC upload instruction document.
Important: UPSC’s technical FAQ also displays a different image specification, including a 20 KB to 300 KB file-size range and a broader pixel range. This means candidates should not blindly follow an old specification or a generic online guide.
Always check the latest instructions displayed for your particular examination and application portal before preparing the final image.
You can read the official UPSC signature upload instructions for reference.
How to Resize Signature for UPSC Online
You can prepare your signature using an online image resizing tool.
Follow these simple steps to get your signature ready for the application.
Step 1: Prepare Your Signature on White Paper
First, take a clean white sheet of paper and sign using a black ink pen.
For a better result:
- Write your signature naturally.
- Avoid using a very light ink colour.
- Keep the signature within a reasonable area.
- Avoid unnecessary marks or overwriting.
- Make sure the handwriting is clearly visible.
Your signature should look similar to the signature you normally use on official documents. Do not create a completely different signature just to meet the image requirements.
Step 2: Scan Your Signature
After signing, scan the paper or take a clear photograph of the signature.
Make sure:
- The paper is properly visible.
- There are no shadows.
- The handwriting is not blurred.
- The image is correctly aligned.
- The signature is not cut off.
Save the scanned image on your computer or mobile phone. You can start with a PNG or JPG image, but the final file must follow the format accepted by the UPSC application portal.
Step 3: Open an Online Signature Resizer
Now open an online signature resizing tool in your browser.
You can use our Online Signature Resizer Tool to prepare your image without installing additional software.
Upload the scanned signature image from your device. Once the image is uploaded, you can use the available editing options to adjust its appearance and dimensions.
Step 4: Crop Unnecessary White Space
Sometimes a scanned signature contains too much empty space around the actual handwriting.
This can make the signature appear very small in the final image.
Use the crop option to remove unnecessary margins from the top, bottom and sides. Keep a small amount of white space around the handwriting. Do not crop too closely because even a small cut in the signature can affect its appearance.
Step 5: Resize the Signature Dimensions
After cropping, adjust the image dimensions according to the current UPSC application instructions.
Enter the required width and height in pixels wherever the tool provides separate dimension fields.
Keep the original proportions whenever possible. If the tool offers a maintain aspect ratio option, use it to prevent the signature from looking stretched or compressed. Avoid changing the width and height randomly just to make the upload process successful.
Step 6: Compress the Image File Size
After resizing, check the final image file size.
An image can have the correct dimensions but still be too large for the application portal.
Use the compression option to reduce its file size if necessary.
For example, suppose the application requires a file between 20 KB and 100 KB, but your resized image is 180 KB. You will need to compress the image until it falls within the permitted range.
However, do not reduce the file size so much that the signature becomes unclear or pixelated.
Step 7: Download the Final Signature
Once the editing process is complete, preview your image carefully.
Check that:
- The complete signature is visible.
- The handwriting is clear.
- There is no unnecessary white space.
- The image dimensions are correct.
- The file size meets the application requirements.
- The format is JPG or JPEG.
Download the final image and save it in an easily accessible folder. For the newer UPSC upload instructions, use the filename signature as directed.
Your signature is now prepared for the next application step.
Why Is the Correct Signature Size Important for UPSC?
Uploading the wrong signature image can create unnecessary problems during the application process.
Some common issues include:
1. Signature File Is Too Large
If your signature exceeds the permitted file-size limit, the portal may not accept the upload. Compression can help reduce the file size while maintaining acceptable image clarity.
2. Signature File Is Too Small
An image below the minimum permitted file size may also fail to meet upload requirements. Always check the final file size before submitting it.
3. Incorrect Image Dimensions
A signature can have a small file size but still have unsuitable pixel dimensions. For example, a 100 KB image is not automatically correct just because it falls within the file-size limit. Both dimensions and file size must be checked.
4. Blurred Signature
A signature that looks unclear may create identification problems. Always start with a good-quality scan instead of trying to improve a very poor image through excessive compression.
5. Wrong File Format
Saving your signature as PNG when the application requires JPG can cause an upload problem. Use the format specified in the application instructions.
Difference Between Cropping, Resizing and Compressing a Signature
Many candidates think that these three operations are the same. However, they perform different functions.
| Editing Process | Purpose |
|---|---|
| Cropping | Removes unnecessary white margins |
| Resizing | Changes image width and height |
| Compressing | Reduces the image file size |
| Format Conversion | Changes PNG or another format into JPG |
For example, suppose your original signature image is 1200 × 800 pixels and 250 KB.
The application may require a smaller image with a specific pixel range and a maximum file size. In this case, you may need to crop the image, resize it and compress it separately. Simply reducing the file size will not automatically correct the image dimensions.
Common Mistakes to Avoid While Resizing a UPSC Signature
Before uploading your signature, avoid these common mistakes.
- Using a Different Signature: Always use your genuine signature. It should be consistent with the signature you normally use on important documents.
- Cropping Too Much White Space: Removing unnecessary margins is helpful, but cropping directly along the handwriting can cut off a portion of the signature. Keep a small margin around the complete handwriting.
- Stretching the Image: Do not increase the width without adjusting the height proportionately. Stretching can change the natural appearance of your signature.
- Ignoring the File Size: Many candidates focus only on image dimensions and forget to check the KB size. Both requirements matter.
- Uploading a Blurry Image: A small image may look clear on your computer screen but become unreadable after uploading. Always preview the final version at its actual size.
- Following Old UPSC Specifications: UPSC application instructions can differ across application workflows and examination cycles. Do not rely completely on an old YouTube tutorial, an outdated PDF or a random image resizing website. Check the latest official instructions before uploading.
How to Check Your Signature Before Final Submission
Use this checklist to verify your image.
- Signature is written on clean white paper.
- Black ink is used as instructed.
- Complete handwriting is visible.
- Unnecessary white margins are removed.
- Image dimensions match the current instructions.
- File size is within the permitted range.
- File format is JPG or JPEG.
- File name follows the prescribed format.
- Signature is clear and not blurred.
- Downloaded image has been previewed.
After uploading, carefully inspect the preview displayed by UPSC. If the image does not look correct, use the available reload option before confirming the upload.
UPSC’s published FAQ warns that poor-quality photograph or signature images can lead to rejection and that changes may not be possible after confirming the upload in the relevant application workflow.