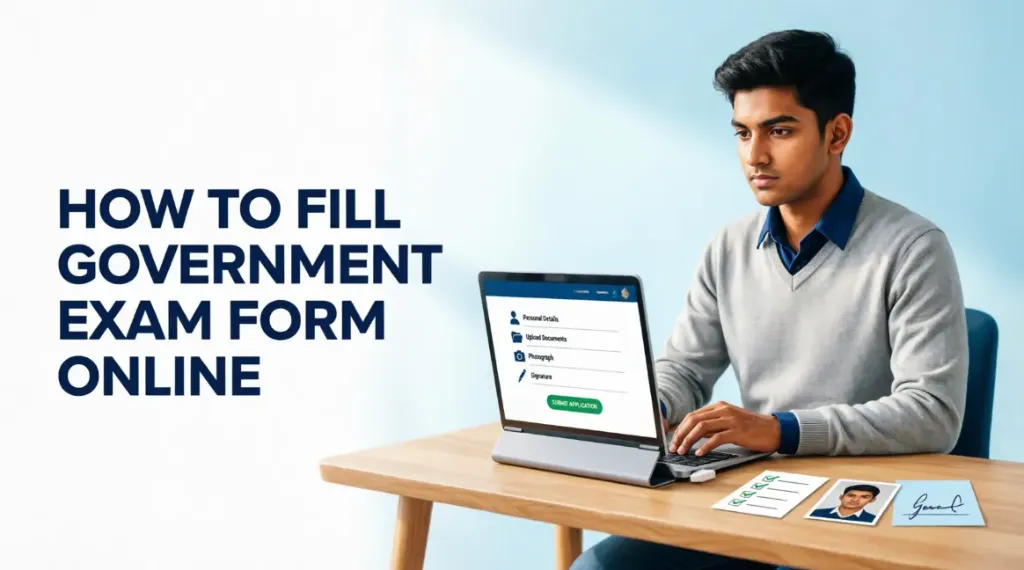
Applying for a government job is an important step toward building a secure career. However, for first-time applicants, filling out an online government exam form can feel confusing. From registration and entering personal details to uploading a photograph, signature, and paying the application fee, every step requires attention.
Even a small mistake in your name, date of birth, category, or uploaded documents may create problems during the recruitment process. That is why it is important to understand the application procedure before you start.
In this guide, you will learn how to fill government exam form online, which documents to prepare, how to upload your photo and signature, and what to check before submitting your application.
Whether you are applying for an SSC exam, a railway recruitment examination, a banking exam, a UPSC examination, or a state government vacancy, these general steps will help you complete the application process more carefully.
What You Should Know Before Filling Out a Government Exam Form
Before visiting the application portal, read the official notification for the examination you want to take.
The notification explains the eligibility criteria, application dates, fees, required documents, examination pattern, and other important conditions. Do not assume that every government exam follows the same rules.
For example, the photograph and signature requirements for one examination may differ from those of another.
You can visit the official UPSC Apply Online page to understand how the Union Public Service Commission directs candidates to its examination application portal. For other examinations, use the official website of the recruiting organization.
Keep these details ready before starting:
- A valid mobile number and email address
- Your name and date of birth as recorded in official documents
- Educational qualification details and marks
- Category, nationality, and other relevant information
- A valid photo identity document
- A recent photograph and scanned signature, if required
- Category, disability, domicile, or other certificates where applicable
- Online payment details, if an application fee is required
Preparing these details in advance can save time and reduce the chances of errors.
Step-by-Step Guide on How to Fill Government Exam Form Online
Step 1: Visit the Official Website
First, open the official website of the organization conducting the examination. Look for sections such as Recruitment, Careers, Examination Notices, Notifications, or Apply Online.
For example, candidates applying for SSC examinations should visit the official Staff Selection Commission website (or check our SSC Exam Guide). UPSC applicants should follow the relevant application link provided on the official UPSC website (or explore our UPSC Exam Guide). Candidates applying for railway recruitment can refer to our RRB Railway Exam Guide, banking aspirants can check our IBPS Exam Guide, and state exam applicants can view our UPPSC State Exam Guide.
Check the examination name, advertisement number, and application deadline before proceeding.
Important: Avoid websites that promise guaranteed selection or ask for unnecessary personal information. Third-party websites may help you discover vacancies, but your final application should be submitted through the authorized portal.
Step 2: Read the Official Notification Carefully
The recruitment notification is the most important document for an applicant. It tells you whether you are eligible and what rules you must follow.
Pay particular attention to these details:
| Information | What You Should Check |
|---|---|
| Educational qualification | Required qualification, passing year, and other conditions |
| Age limit | Minimum and maximum age on the specified reference date |
| Age relaxation | Applicable relaxation for eligible categories |
| Application dates | Opening date and final submission deadline |
| Application fee | Amount payable and any eligible fee exemption |
| Required documents | Photograph, signature, certificates, and identity details |
| Exam centres | Available cities or centres and selection rules |
| Correction facility | Whether form corrections are allowed and under what conditions |
Do not apply only because your qualification matches the job title. You must satisfy all eligibility conditions mentioned in the notification.
Step 3: Complete Registration
Most online application systems ask new candidates to register before filling out the detailed form.
Click on New Registration or the equivalent option. Depending on the examination, you may need to provide your name, mobile number, email address, date of birth, or other basic information.
Follow the instructions displayed on the portal and verify your contact details through an OTP if required.
After registration, the system may generate a registration number, application number, or user ID. Some portals also require you to create a password.
Save these details securely. You may need them to log in, complete an unfinished application, download your confirmation page, or check future recruitment updates.
Do not create multiple accounts unless the official instructions specifically permit or require it.
Step 4: Fill in Your Personal Details
Log in to the application portal and open the relevant examination form.
Enter your personal information exactly as requested. These fields commonly include:
- Full name
- Father’s or mother’s name, where required
- Date of birth
- Gender
- Nationality
- Category and reservation details
- Correspondence and permanent address
- Mobile number and email address
Use your official documents as the reference instead of relying on memory.
Your name and date of birth should match the records specified in the examination notification. Spelling differences, incorrect birth dates, or an incorrect category selection can create verification issues.
If the form asks whether you belong to a reserved category, select the option only when you satisfy its conditions. Check certificate requirements and validity rules before claiming a reservation benefit.
Step 5: Enter Educational Qualification Details
The next section usually asks about your academic background.
Depending on the examination, you may need to enter your board or university name, qualification, passing year, roll number, marks obtained, percentage, or CGPA.
Keep your marksheets and certificates nearby while completing this section.
Check the following before moving forward:
- Select the correct qualification.
- Enter the passing year accurately.
- Verify the board or university name.
- Enter marks or CGPA using the method specified in the form.
- Confirm that you meet the required qualification criteria.
Some vacancies require candidates to possess a qualification by a specific date. If your final result is pending, do not assume that you are eligible. Read the relevant recruitment notice to determine whether candidates awaiting results can apply.
Step 6: Upload Your Photograph and Signature
Uploading the correct photograph and signature is one of the most important parts of an online government exam application.
The application portal may ask for a scanned photograph, a scanned signature, or a live photograph captured through a camera or an approved application.
Before uploading, read the instructions displayed on the official portal.
| Requirement | What You Should Do |
|---|---|
| Photograph | Use the type of photograph specified in the notification |
| Signature | Sign clearly on the required background if a scanned signature is requested |
| File format | Follow the accepted format, such as JPEG or JPG, where specified |
| File size | Keep the file within the stated minimum and maximum limits |
| Image dimensions | Follow the exact width and height requirements |
| Image clarity | Avoid blurry, distorted, or unreadable images |
Never assume that a particular photograph size or signature dimension works for every examination. File size, dimensions, background, and capture rules can vary between recruiting organizations and even between examinations.
For example, SSC application notices provide specific instructions for photograph capture and signature uploads. Always check the applicable notice rather than copying specifications from another exam.
If your signature image is too large, too small, or outside the permitted dimensions, use our free Signature Resizer Tool to resize, crop, and compress your signature to the exact dimensions and file size specified in your recruitment notification.
Signature upload checklist:
- Your actual signature is clearly visible.
- The image is not stretched or distorted.
- The signature is not unnecessarily cropped.
- The file size and dimensions follow the instructions.
- The uploaded preview looks correct.
You can also use our dedicated Signature Resizer Tool before uploading, making it easier to prepare your signature according to official recruitment standards.
Step 7: Select Exam Preferences and Other Required Details
Some government examination forms ask candidates to choose an examination city, post preference, department, language, or other options.
Read the instructions carefully before selecting these preferences.
Choose an examination city only from the available options. If the portal asks you to rank posts or departments, understand the implications of your selections before proceeding.
Do not select preferences randomly just to complete the form faster. Some choices may be difficult or impossible to change after submission.
Review any declarations regarding eligibility, previous applications, employment status, or other information and answer truthfully.
Step 8: Pay the Application Fee
If the examination requires a fee, proceed to the payment section after completing the required form details.
Common payment methods may include UPI, debit card, credit card, and net banking, depending on the portal.
Before paying, verify the fee amount and whether you qualify for any exemption under the official rules.
Follow these precautions:
- Use only the payment methods provided on the official portal.
- Do not make multiple payments without checking the transaction status.
- Save the transaction reference or receipt.
- Check whether payment is marked as successful.
- Confirm whether the application requires a separate final submission after payment.
Some portals have separate deadlines for application submission and fee payment. Note both dates in your calendar.
If money is deducted but the payment status remains pending, follow the portal’s instructions and check the transaction status before attempting another payment.
Step 9: Preview and Verify Your Application
Before final submission, carefully review the application preview.
This is your opportunity to catch mistakes before they become difficult to correct.
Check your name, date of birth, category, educational details, contact information, examination preferences, photograph, and signature.
Make sure that the uploaded documents belong to you and are clearly visible in the preview.
Use this final checklist:
- Personal details are correct.
- Educational qualifications are accurate.
- Category and reservation information are correct.
- Photograph and signature meet the prescribed requirements.
- Examination and post preferences are correct.
- All mandatory fields have been completed.
- Fee payment has been completed if required.
- Required declarations have been read and accepted.
If the portal offers a preview facility, use it before confirming your application.
Step 10: Submit the Form and Download the Confirmation Page
After verifying all information, click Final Submit or the equivalent button.
Some portals may ask you to confirm your information before completing submission. Follow the displayed instructions carefully.
Once the form is successfully submitted, download the confirmation page or final submitted application if available.
Save a copy of the following:
- Submitted application form
- Confirmation page
- Payment receipt
- Registration or application number
- Relevant email or SMS confirmation
Keep a digital backup in a secure folder so you can access it later.
Remember: Saving a draft is not the same as submitting a form. Similarly, successful payment alone does not always mean the application has been submitted successfully. Check the final status displayed on the portal.
Common Mistakes to Avoid While Filling Out a Government Exam Form
First-time applicants often make avoidable errors because they rush through the application process.
Here are some common mistakes and how to prevent them:
| Common Mistake | How to Avoid It |
|---|---|
| Applying after the deadline | Check the last date and submit early |
| Entering an incorrect date of birth | Verify it against the required official record |
| Selecting the wrong category | Read the eligibility and certificate requirements |
| Uploading an incorrect signature | Check image clarity, dimensions, and file size |
| Entering incorrect marks | Use your original marksheet or certificate |
| Ignoring the payment status | Confirm whether the transaction and application are complete |
| Assuming corrections are always possible | Check the official correction policy before submission |
| Forgetting the confirmation page | Download and save it after successful submission |
Uploading an invalid, blurry, or misformatted signature is one of the leading causes of application cancellations. If you are facing issues with your signature, read our detailed guide on Government Exam Form Rejected Due to Signature: Reasons and Solutions to learn how to identify rejection codes, check correction window policies, and prepare your signature according to official specifications.
One useful habit is to complete the form when you have enough time to review every section. Avoid waiting until the final hour, when website traffic or technical problems may interfere with the process.
What to Do If You Make a Mistake in the Application Form
Do not panic if you notice an error after submitting your application.
First, visit the official recruitment website and check whether a correction window is available. Some examinations permit changes to selected fields, while others restrict corrections or charge a correction fee.
If the application portal is not allowing you to edit the form, consult the examination notification or contact the official helpdesk.
Keep your application number, payment receipt, and a clear description of the problem ready when contacting support.
Never assume that an error can be corrected later. If a correction facility is available, use it within the specified period and download the revised confirmation page where applicable.